
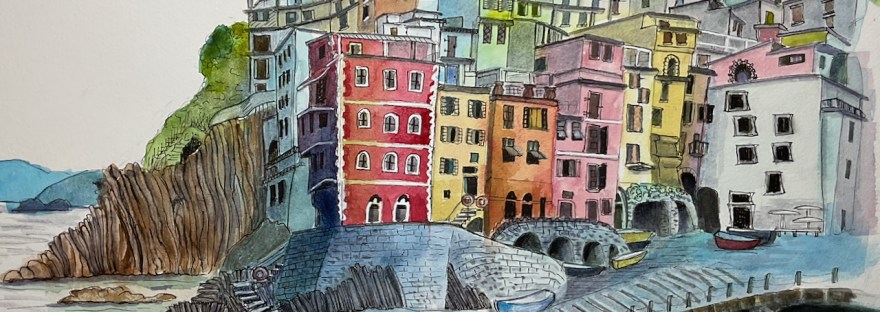
I could never draw that!
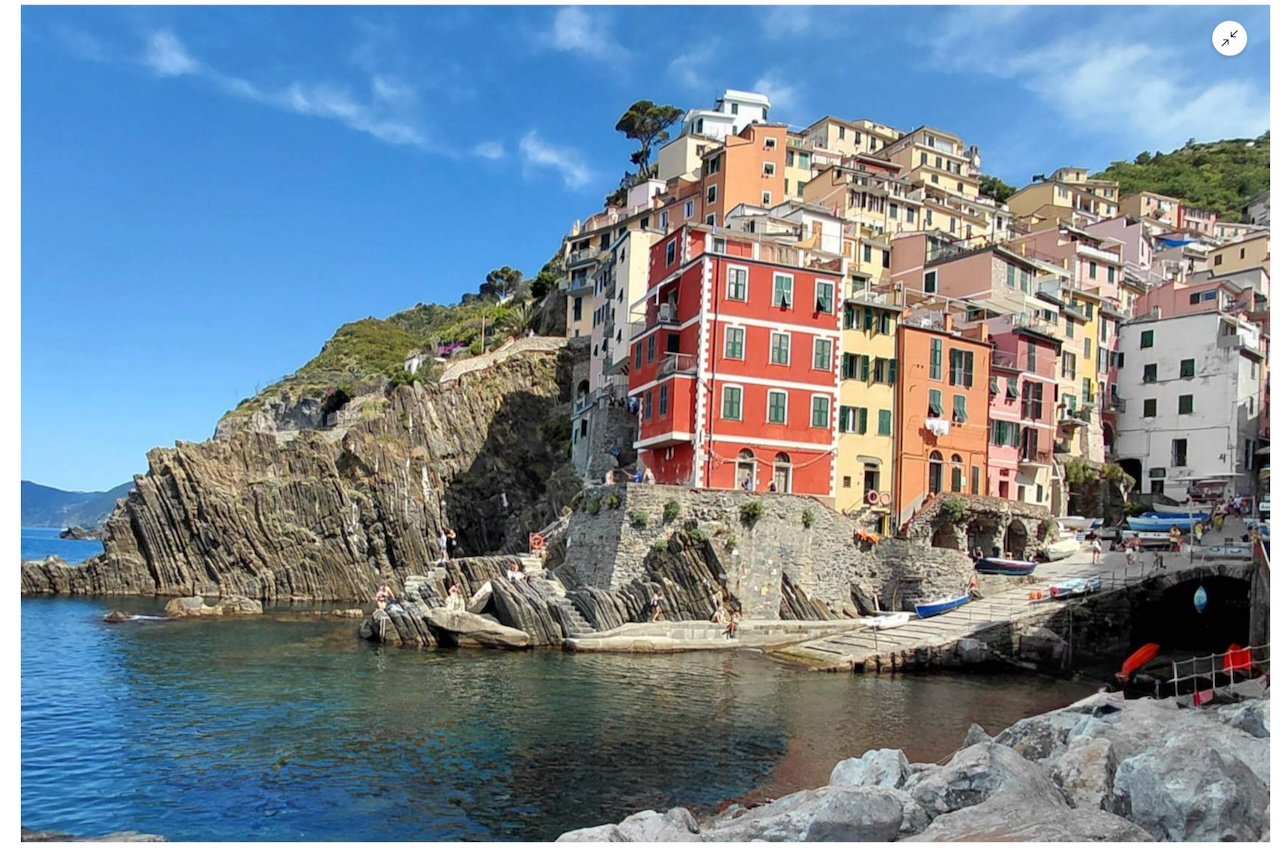
I panicked as I looked at the complex scene in the reference photo for the four-week art course I’d signed up for.
The village of Riomaggiore in Italy is a dense collection of dwellings that ascends a hill rising out of the Mediterranean. The reference photo was a tangle of houses, a confusion of perspectives, along with a vague right foreground area where I couldn’t figure out what was happening. Could I even sketch this? Or would this scene get the best of me?
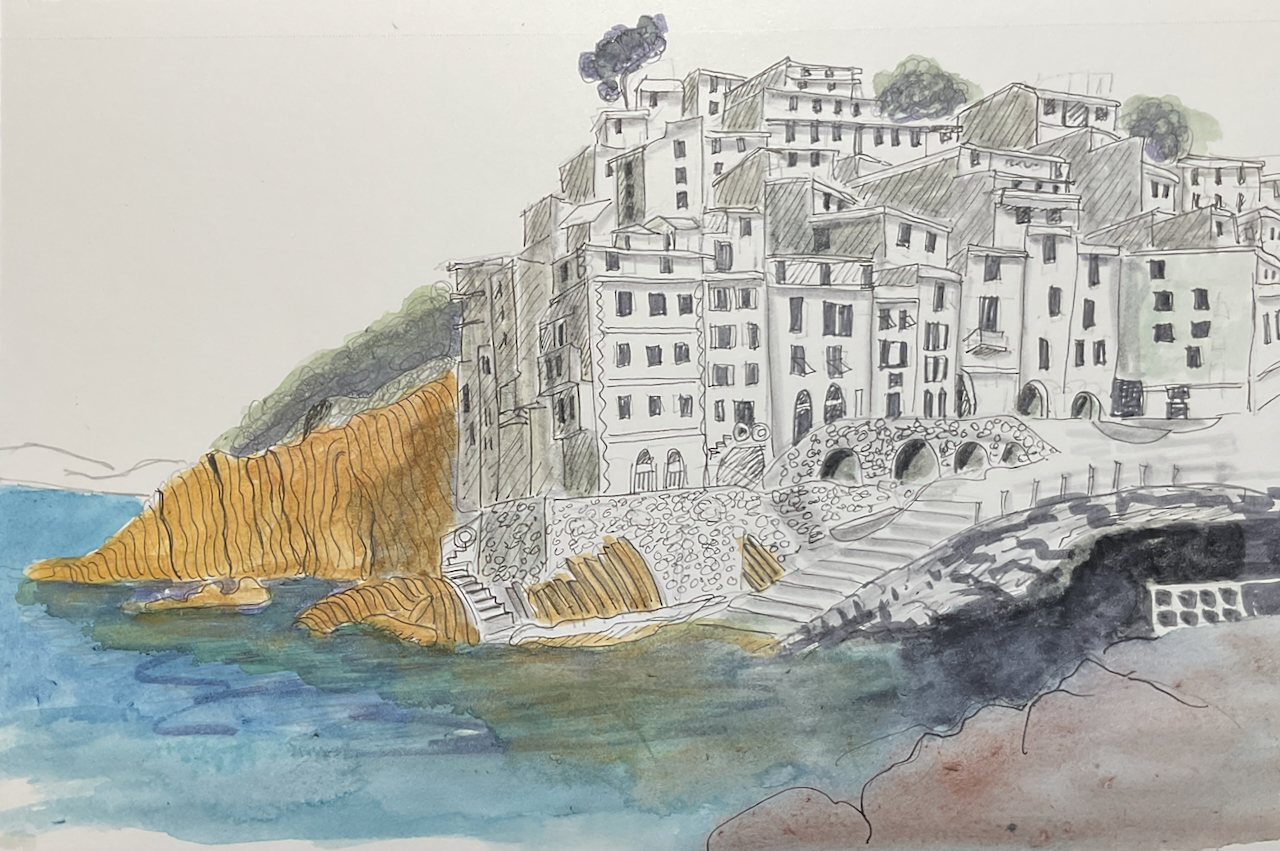
Instructor Ian Fennelly encouraged us to do a pre-sketch — a loosely composed drawing to familiarize ourselves with the scene. I pulled out my 9×12 mixed media sketchbook and got to work.
Though Ian uses the fine liner tip of non-erasable markers to do his sketch, I used pencil. At least I could erase those many false starts. Bit by bit the scene developed and I began to breathe easier. I would conquer this hodge podge of a town by slowly and carefully pencil-nailing it to the page.
I completed the pre-sketch by inking over the pencil lines with a waterproof fine liner, adding a bit of tone with grey-scale Tombow brush pens, and washing the rocks and water with a bit of colour. Pre-sketch completed! Here is mine.
Then it was on to the actual drawing.
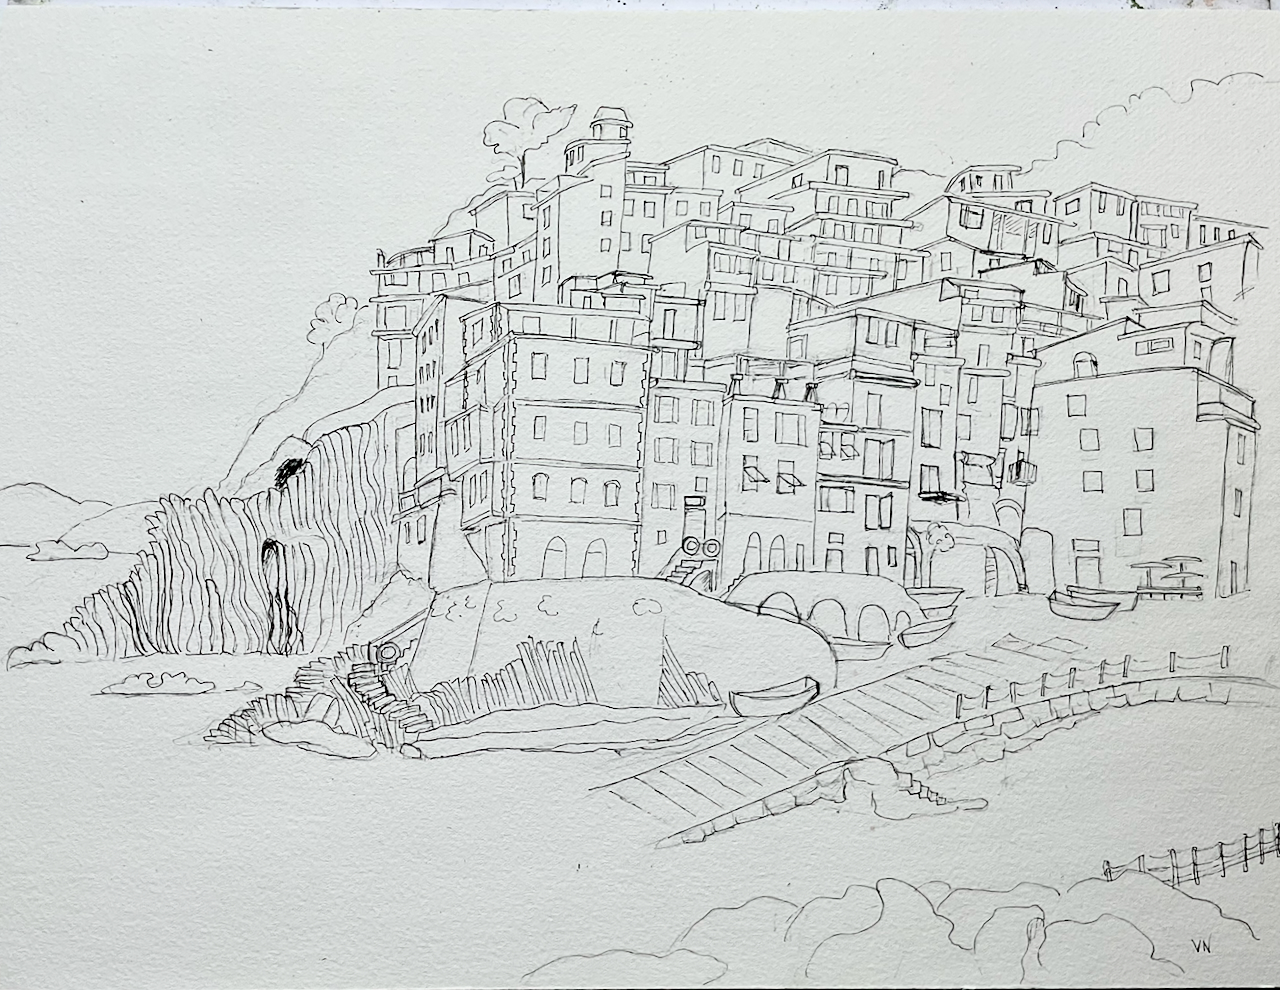
Because there’s so much to fit into the scene, I decided to use my biggest size of watercolour paper — 12×16 inches — for the final drawing. I went through the whole process again, carefully drawing the scene with pencil, and inking with fine liner. So far so good.
Ian breaks his method of drawing every scene into four parts:
1.Draw a pre-sketch and line drawing.
2. Add watercolour using a limited palette.
3. Add tone (value) with grey-scale watercolour brush pens.
4. Finish the scene by adding detail with fine liners.
In the course we did one of these steps each week, gathered around our devices in a Zoom call. Watching Ian complete each step looked easy and fun. But picking up the tools and doing them on our own was a whole other thing.
Adding watercolour to such a scene is tricky. Ian suggests using lots of water so it’s easy to lose control. In his sketches, the watercolour is usually light with a few carefully chosen saturated passages. He also often allows the paint colours to mix on the paper (instead of mixing them on his palette). I worked with these thoughts in mind.
Here is my drawing after the watercolour stage.
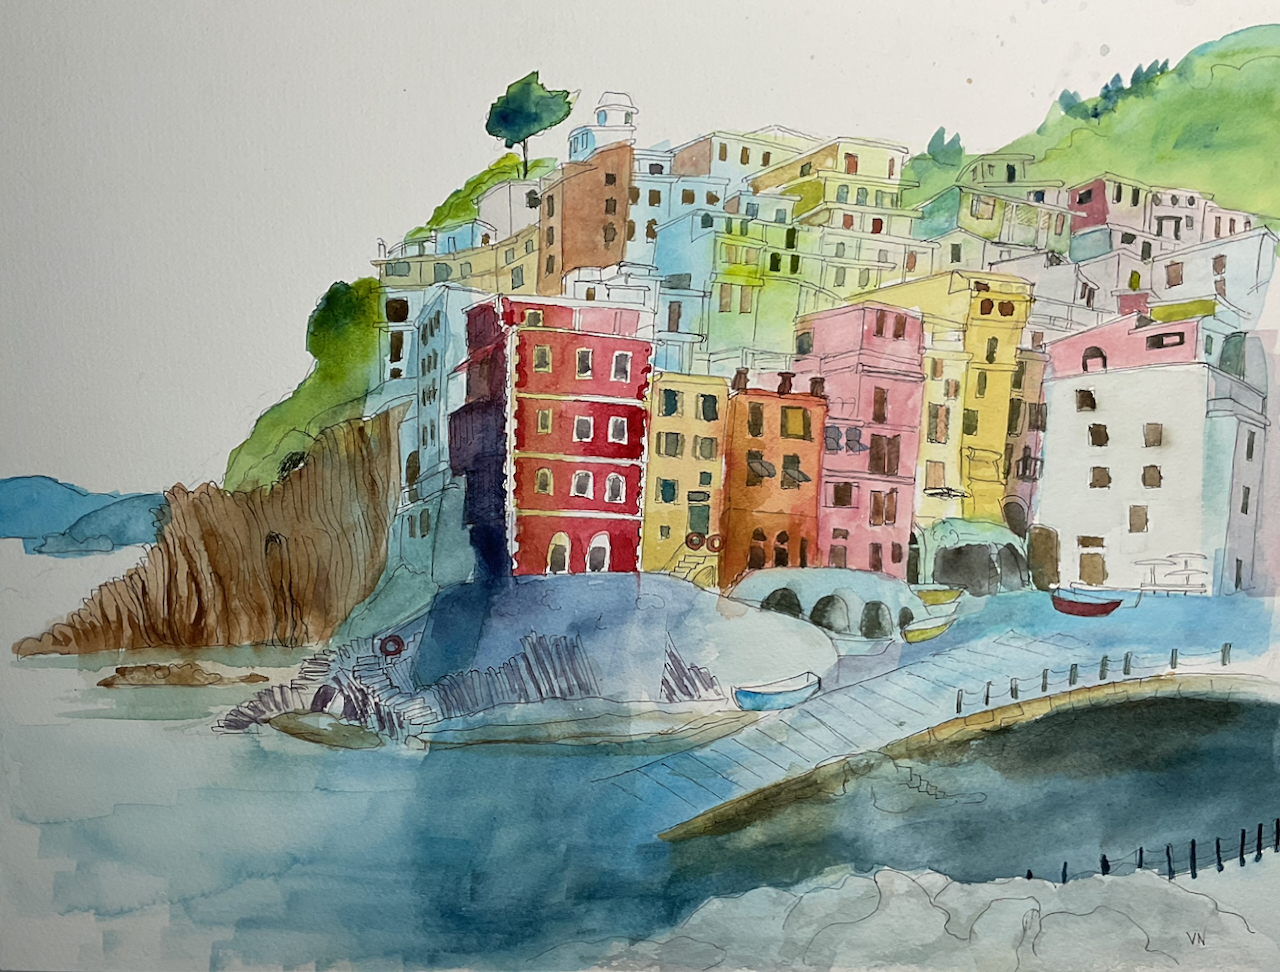
For the tone stage, Ian reminds us not to go too dark — as it’s easy to obliterate the colour with an abundance of grey. I did make that mistake in several places (and ‘cheated’ by wetting the paper and blotting off the excess where I really went overboard.)
Here is the drawing after the tone stage.
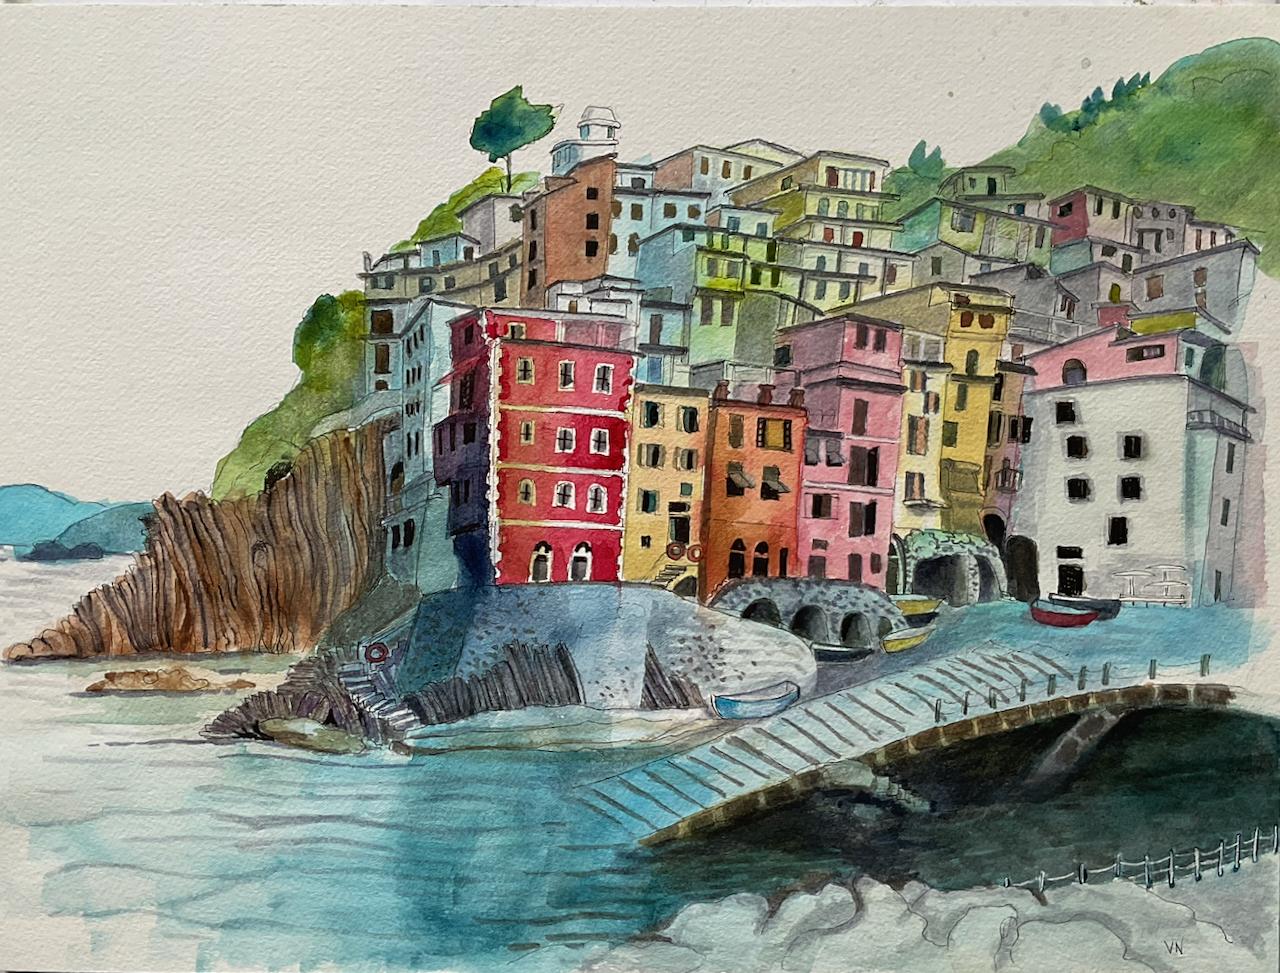
Finally we came to the detail stage — which is my favourite. Here I drew details of brick and stone walls, windows, doors, balconies, awnings, boats, and the slipway. Along with black fine liners, I used a white acrylic pen to regain some of the white areas I had covered. So fun!
Here is my final drawing.
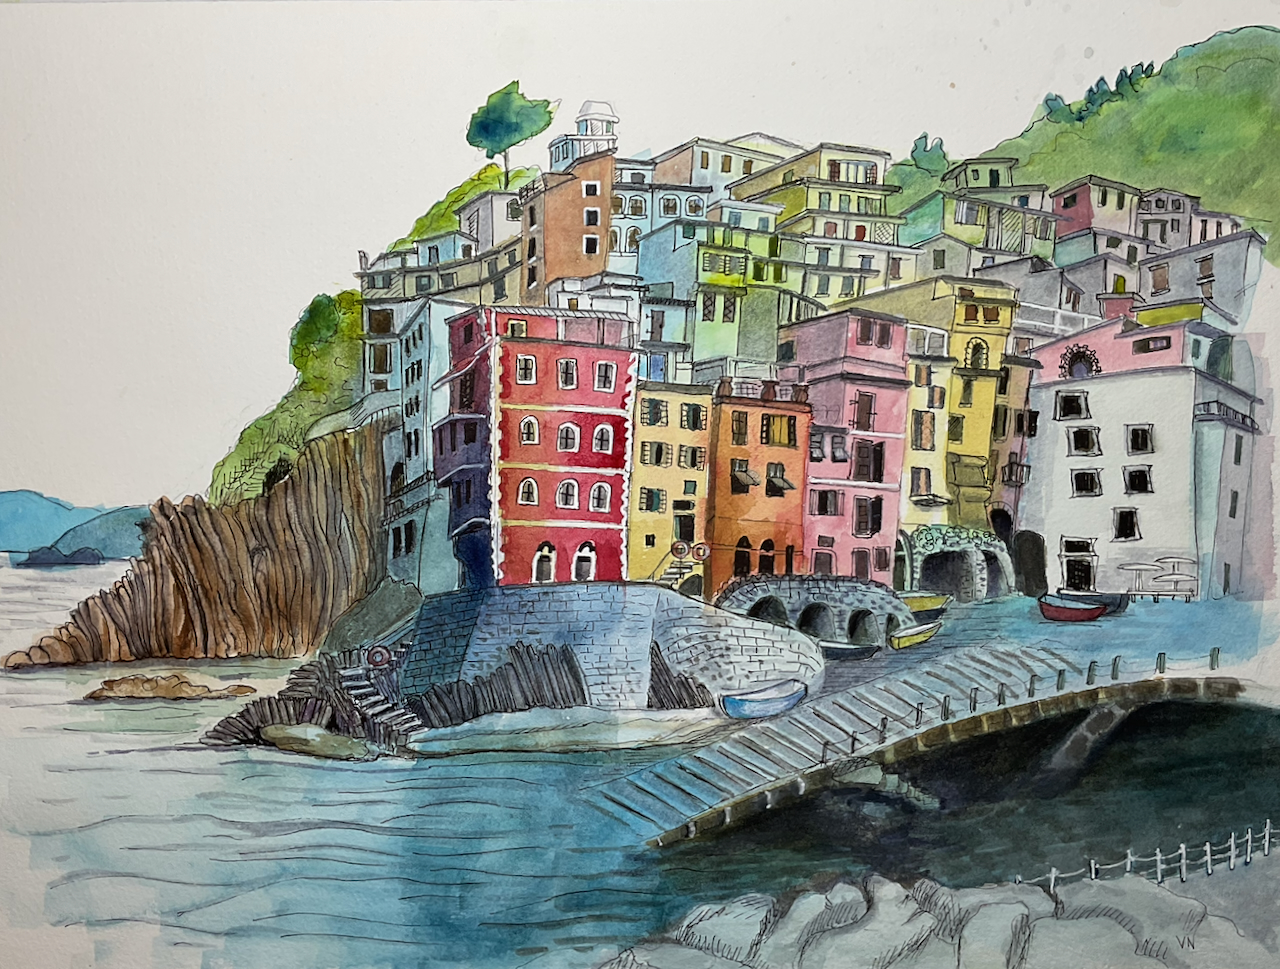
Reference Photo: Ian Fennelly
Things I learned:
- Doing a pre-sketch is time well spent, at least for m
- In this process each stage has a job to do. As I went through this process week by week, that principle became ever more clear. The watercolour stage was where I noticed this the most. I’m used to adding watercolour as the last stage in a painting. But it’s not when using this method. After adding watercolour to Riomaggiore, I had to restrain myself from trying to make it look anything other than the unresolved messy middle.
- When adding tone, I kept reminding myself not to go too dark.
- I’ve learned that in the detail stage, it’s nice when the paint and tone aren’t too dark, so that the detailed pen work shows up.
- The big takeaway for me from this four-week art course was to TRUST THE PROCESS. Let each stage carry the part of the weight it is meant to in the completed drawing.
That’s probably a good lesson to take into life in general: TAKE THINGS STEP BY STEP AND TRUST THE PROCESS.


